

The big day is coming….Superbowl Sunday! A time of food, feasting, drinking, and celebration with friends and family while cheering on your favorite team. And what better way to show your team spirit during this football extravaganza than to represent the two top teams with their very own cookies! I love football and I love cookies so with Superbowl Sunday it was only obvious to me to combine the two.
How do you do that, you ask?
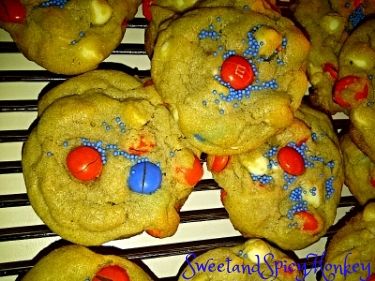
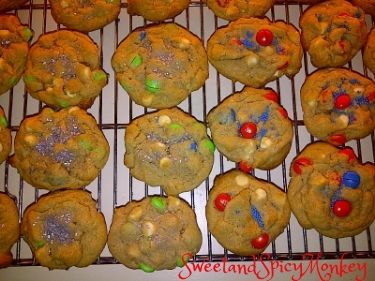
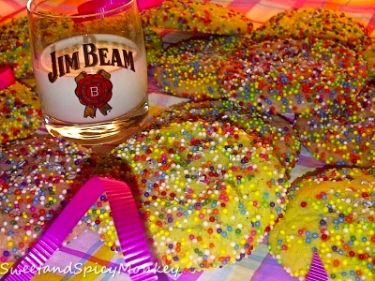
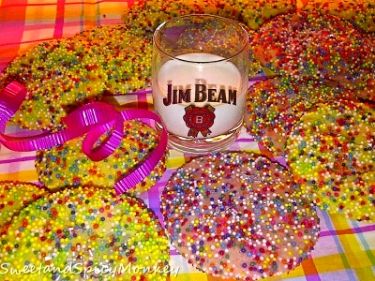
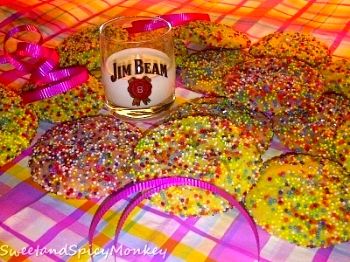
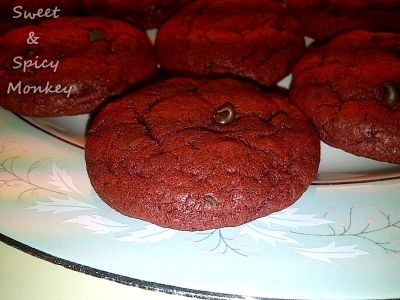
Well, you represent the teams by making the cookies with the team colors. The Denver Broncos are represented by their team colors of orange, blue, and white. For this, I used orange and blue M&M’s, white chocolate chips, and blue nonpareils sprinkles on top.
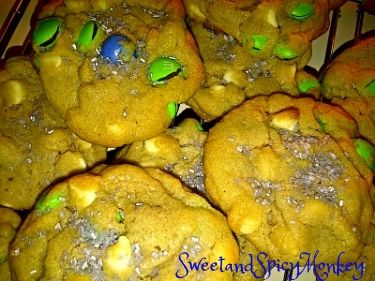
While the Seattle Seahawks whose team colors are green, blue, white, and silver are represented by using green and blue M&M’s, white chocolate chips, and shimmering silver cupcake gems sprinkled on top.
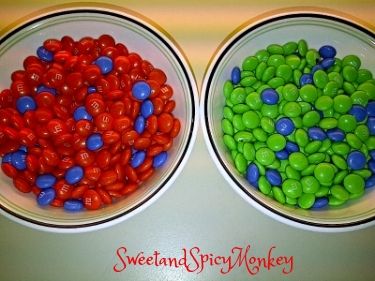
It’s so easy to do! I just bought a large (Sam’s Club large) bag of M&M’s and separated the orange and blue M&M’s in one bowl and the green and blue M&M’s in another bowl. I noticed there aren’t as many blue M&M’s in the bag as there are the other colors, so if you want more blue M&M’s, I suggest you buy two large bags so you have plenty of blue M&M’s to match the orange and green amounts. The best thing about this part is you can have the family help you separate the M&M’s!
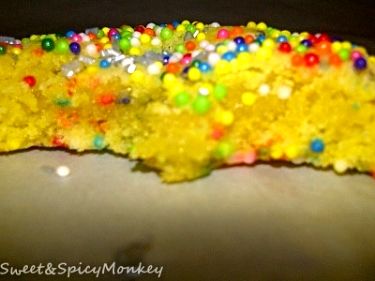
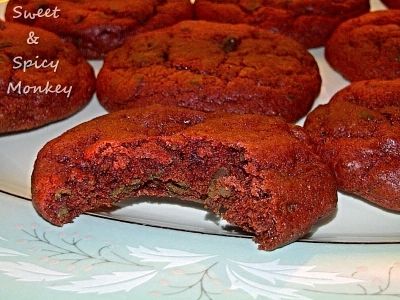
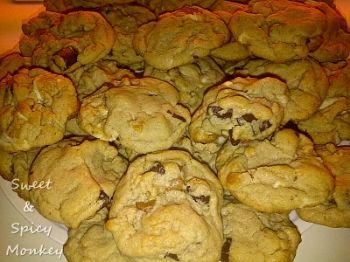
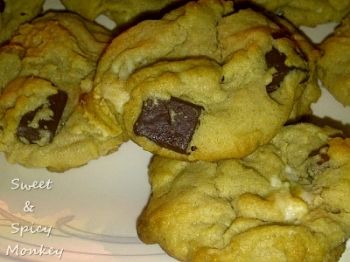
And what better flavor to add to this mix of chocolates than peanut butter! I use my peanut butter cookie dough mix for this recipe. The M&M’s chocolate mixed with the peanut butter and white chocolates makes for one yummylicious cookie! It’s the kind of yummylicious that just makes your mouth water thinking about how good the peanut butter and chocolates taste together! So darn good that you’ll be eating the other teams cookies like I did! Sorry Peyton!
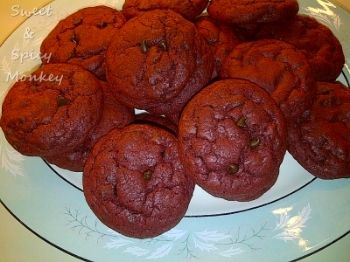
No matter who wins the game, these cookies are sure to be the winner of the Superbowl party!

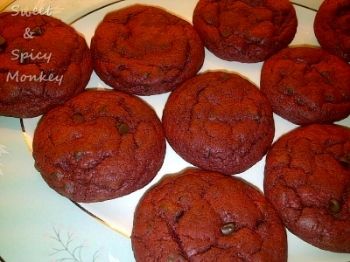
Superbowl Team Cookies
Ingredients
1 cup softened butter
½ cup sugar
1 cup Brown sugar, packed
2 teaspoons Vanilla
2 large eggs, beaten
1 cup creamy peanut butter (can also use chunky peanut butter)
2 cups flour, sifted
¼ teaspoon salt
½ teaspoon Baking Soda
1 tablespoon Cornstarch (this makes the cookies Fluff)
1 and 1/2 cups white chocolate chips
1 cup orange and blue M&M’s, mixed
1 cup green and blue M&M’s, mixed
Blue nonpareils sprinkles, to sprinkle on top after baking Denver team cookies
Shimmering silver cupcake gems, to sprinkle on top after baking Seattle team cookies
Directions
Preheat oven to 350F degrees.
Spray cookie sheets with non-stick spray. Set aside.
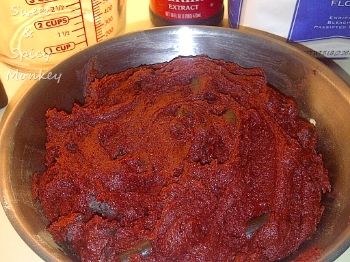
In a large mixing bowl, combine softened butter with white and brown sugars until creamy.
Add vanilla, eggs, and peanut butter until well blended.
In a separate bowl, sift together flour, salt, baking soda, and cornstarch.
Mix dry ingredients a little at a time with peanut butter mixture until blended thoroughly.
Mixing by hand, add in white chocolate chips, blending throughout dough mixture.
Separate dough mix by hand and place mix in a separate mixing bowl.
In one batch of dough mix, add orange and blue M&M’s, blending well. This will be your Denver team cookies.
In other batch, add green and blue M&M’s, blending throughout mix. This will be your Seattle Seahawks team cookies.
Chill both dough batches for 1 hour. (*This helps keep cookies from flattening out.*)
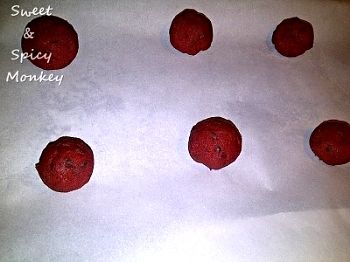
Drop tablespoon size balls onto lightly greased cookie sheet.
Place cookie sheet in pre-heated oven for 10 minutes. Until cookies show a little bit of browning around the edges.
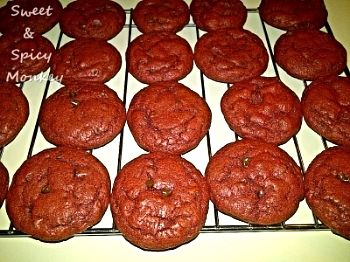
After taking cookies out of the oven, immediately decorate for team. For Denver team cookies, sprinkle blue nonpareils sprinkles on top of cookies and let cookies cool on cookie sheet for 5 minutes before placing them on a wire rack to cool completely.
For Seattle team cookies, sprinkle shimmering silver cupcake gems on top of cookies and let cookies cool on cookie sheet for 5 minutes before placing them on a wire rack to cool completely.
After cookies have completely cooled, store in an airtight container where they will stay fresh up to 1 week.
Makes approximately 40 cookies.
*I can’t tell you exactly how many because I ate some while baking!!*
**Helpful Hints – Not only can these cookies be made for Superbowl but you can personalize them for any sporting event, especially for kids teams!

All
content and images are property of Sweet and Spicy Monkey minus the Superbowl XLVIII 2014 image. Superbowl XLVIII 2014 image obtained from here. Please do not
reprint this content without my permission. If you wish to include this recipe
on your site, please re-write in your own words and use your own photographs.
Or you can link back to this post for the recipe.


