I'm so excited to be sharing this recipe with you! Not only because it taste delicious but it's also my very first jam recipe I've ever made {happy dance}!
Yes, another first here in my kitchen! Which tells me if I can make this at home, then so can you. Yes you can, I have faith in you {smile}.
I've always been intimidated by the whole canning process. My grandma always canned jams, tomatoes, tomato sauce, and other things. Of course she was brought up this way. My mom never carried on this tradition and I never learned it since there was no need.
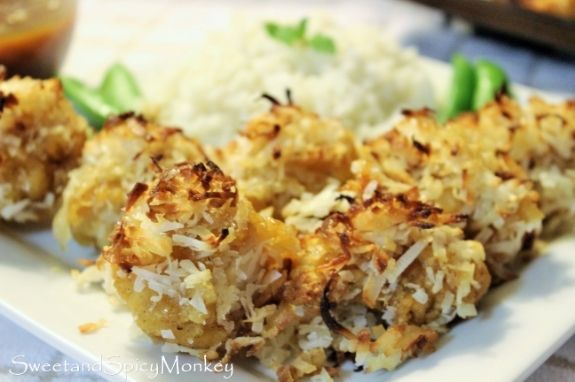
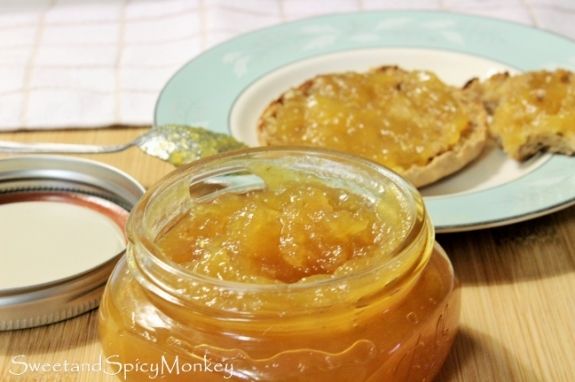
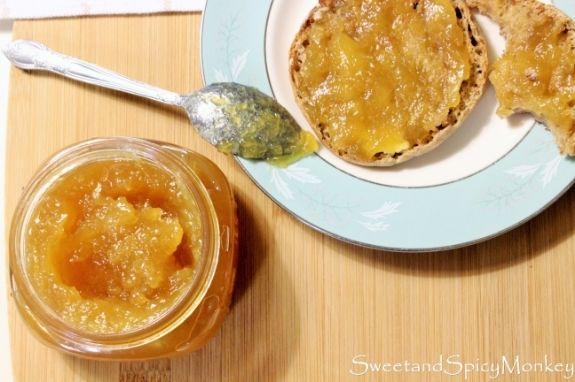
But for some unexplainable reason, a wild hair perhaps, I got this idea to make my own jam last week. And not just any jam, but pineapple ginger jam. A sweet, tropical jam to brighten up anything you put it on.
I have to say, it's rather easy to make and after finally making my own jam, this isn't going to be my last batch.
Just think of the possibilities now - Christmas gifts, house warming gifts, or maybe just because gifts. And it doesn't even have to be a gift, you can make your own jam just for you and your family to enjoy.
All the while knowing that it doesn't have any added preservatives or artificial colors and that you made it for them with love {smile}.
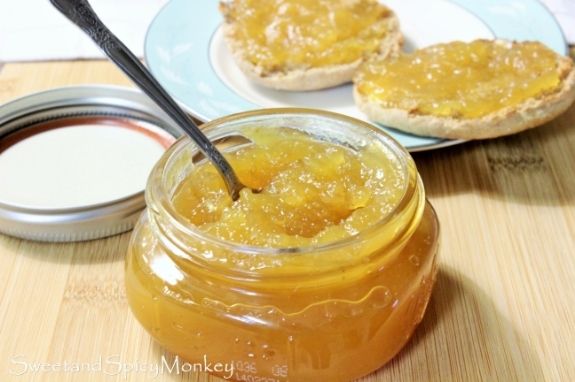
Pineapple Ginger Jam
Makes about 3 – 8 ounce jars
Ingredients
1 cup pineapple chunks with juice
1 cup granulated sugar
Juice and zest from 2 Limes
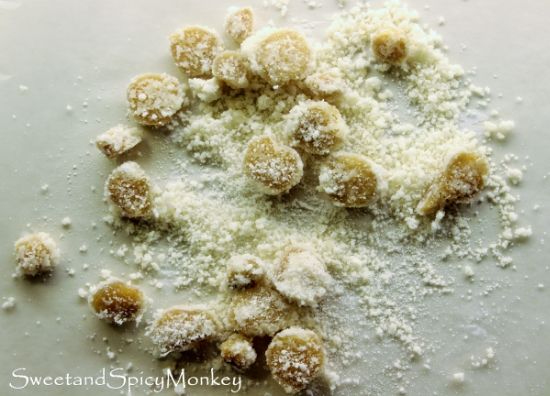
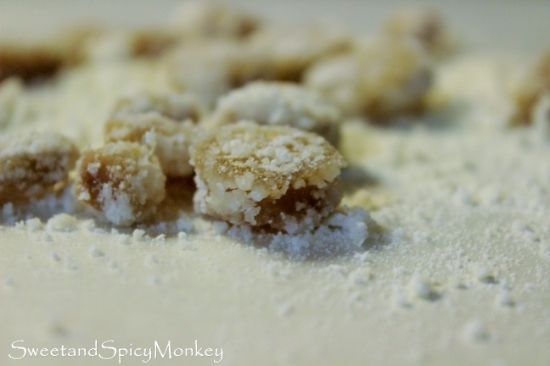
½ teaspoon cooked ginger, minced
1 teaspoon ginger infused water
1/8 teaspoon ground ginger
½ cup crushed pineapple, canned
Directions
Add pineapple chunks with juice, lime juice and zest, minced ginger into a blender and pulse on High until pineapple gets broken down into smaller pieces. Size of chunks is your choice. You can puree mixture like I did because we will be adding crushed pineapple later for the chunkiness.
Pour contents of blender into a medium saucepan with a heavy bottom. Add in sugar, infused ginger water, and ground ginger.
Over medium to low heat, cook uncovered, while stirring occasionally, until mixture becomes thickened, about 2 hours.
Add in crushed pineapple.
Continue cooking over a low simmer, uncovered and stirring occasionally for another 2 hours, give or take, depending on how thick you want your jam. Keep in mind, jam will thicken as it cools.
After cooking, spoon into sterilized jars, wiping off the rims after filling, and place on lids. As the jam cools, the lids will pop and seal.
Store in the refrigerator for up to 3 months.
Inspired by ~ 52 Ways to Cook - Small Batch Canning Ideas
*Helpful Hints*
- I used canned pineapple since I couldn't find any ripe pineapples at the time I wanted to make this jam. You can use fresh pineapple.
All content and images are property of Sweet and Spicy Monkey. Please do not reprint this content without my permission. If you wish to include this recipe on your site, please re-write in your own words and use your own photographs and link back to this post for original recipe.

Shared with: Savoring Saturdays #48, Skip the Housework Link Party #58