Before we get to my recipe today, I just want to let y'all know that you can follow me on Yummly. Yes, I finally joined! Ooh, I feel like such a social media maven now!
Anyways, you can follow me here so you can save my recipes to your recipe box, making it easier to shop for the ingredients because they even have a shopping list section. How cool is that?
I know it helps me because I'm usually trying to scroll through Pinterest just to find the recipe and then have to search the site for the ingredients, using up more data.
But lucky for me and you, Yummly now makes it easier. I'm still in the process of moving my recipes to my Yummly page. So if you don't see it there and there's a recipe you want to save, just click on the Yummly button on the upper right hand side of my page here, and it will save it to your Yummly recipe box. And I thought Pinterest was awesome! You rock Yummly!
With that being said, now we can talk food!
August is National Peach month. Yes, a whole month dedicated to the fuzzy yellow stone fruit that reminds so many people of summer. There's nothing like biting into the soft, juicy flesh of a peach and having the sweet juice run down your chin.

I don't know if you remember from last year in my Peaches and Cream recipe post , I mentioned Zeeny Cobb, or better known in these parts as "the Peach man." He sells peaches at a road stand I pass by on the way home and they are some of the juiciest peaches I've ever tasted.
If you’re near the Georgia-South Carolina border within the next 2 weeks, be sure to exit at mm177 at Dad’s cafe. Hopefully, he will still be there selling some of the best peaches you’ve ever had!

Lucky for you, I picked some up this past weekend. Now I couldn't let National Peach month slip by without a peach recipe to share with y'all. And this isn't just a recipe with peaches, as I've added hibiscus flowers. This tropical flower is not only beautiful, but dried hibiscus flowers are popular for use in teas and foods throughout Mexico, Latin America, and North Africa.
So I thought, "why not combine dried hibiscus flowers with peaches for a deliciously sweet ice cream?” With their beautiful red coloring and the sweet peach taste, what better way to enjoy the last days of summer.

*Disclaimer ~ As with any food, herb, or plant, please use dried hibiscus flowers with caution. Dried hibiscus flowers are NOT recommended for pregnant or nursing women due to adverse effects.*
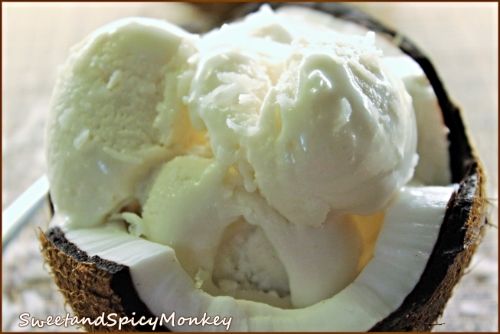
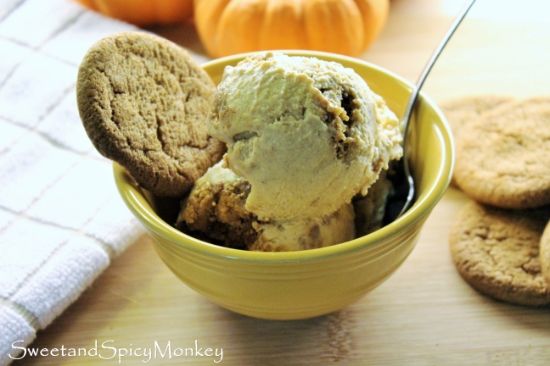
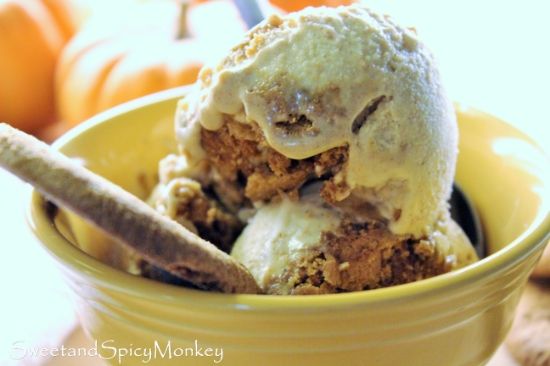
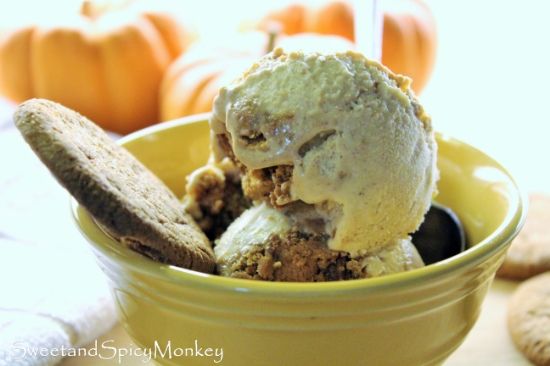
No-Churn Peach Hibiscus Ice Cream
A sweet combination of fruit and floral, Peach and Hibiscus ice cream.
Prep time: 10 minutesCook time: 10 minutes
Total time: 20 minutes
Yield: 1 quart
Ingredients
- 4 large peaches
- 1/2 cup + 1 Tablespoon water
- 1 cup sugar
- 1/2 cup plain Greek yogurt
- 1 cup heavy cream
- 1/4 teaspoon vanilla extract
- 1 wedge lime juice
- 6 Tablespoons organic dried hibiscus flowers
- Peel peaches, cut in half, remove the pits. Cut peaches into small chunks.
- Place peach chunks and dried hibiscus into a medium sauce pan with water and cook over low to medium heat for about 8 minutes, stirring occasionally.
- Add in sugar and continue to cook for another 2 minutes or until peaches become soft.
- Remove from heat and let cool to room temperature.
- After peaches have cooled, place 1/2 of cooked hibiscus peach mix into a blender with remaining ingredients.
- Pulse 1 to 2 times at high speed until mixture becomes smooth in texture, yet still chunky.
- Pour into a large bowl and mix in other half of cooked hibiscus peach mix.
- Pour into a freezer proof container and place in freezer for at least 6 hours before serving. Overnight is best.
- If leaving ice cream overnight in a freezer, let ice cream sit out for at least 20 to 30 minutes before attempting to scoop it out. As ice cream becomes frozen and is very difficult to scoop out right from the freezer.
- Best served with fresh peaches and hibiscus syrup over the top.
Inspired by ~ Peach Ice Cream by David Lebovitz, from his book, 'The Perfect Scoop'.